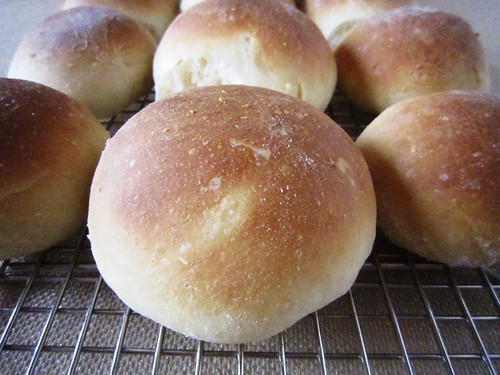
It’s a home baker’s version of a Hallmark card. When you really care, you don’t send a card. You invite your family over and bake these yummy yeast rolls from scratch. Just make sure you have plenty of flour on hand to make them.
The Story
This Easter I decided to make these yeast rolls for our family. I planned to prepare them the day before to make life easier on the big day. I scanned the recipe and took a quick inventory of my pantry. Two packages of yeast? Check. Two eggs? Check. Seven cups of flour? Um, well. I had some all-purpose flour and a jar of self-rising flour. Since the recipe didn’t specify the kind of flour and it included yeast already, I figured I should use all-purpose flour. I carefully measured it one cup at a time and was scraping the bottom of the canister when I got to cup seven.
Then I proceeded to make the bread. The first step of the recipe was to reserve one cup of the flour. One of the last steps was to mix in the reserved flour until the dough was no longer sticky. I added the last cup of flour as instructed, but the dough was still way too sticky to shape into any kind of roll.
I looked at the bottom of my empty flour canister and wondered what to do. Then I remembered the self-rising flour in the pantry. It took about 2 cups more of the self-rising flour to get the dough to stop being sticky. After I shaped the dough into rolls, I waited anxiously for them to rise. I worried about what the self-rising flour would do to the bread dough since it already had yeast in it. Would I end up with some kind of giant mutant dinner rolls for Easter?
In the end, all turned out well. The rolls were normal in size and a gigantic hit with the family. That’s saying a lot when you consider the competition they had at the dinner table. My husband kept hoarding Brown Eyed Baker’s Scalloped Potatoes he loved them so much. Meanwhile, my father-in-law and I snagged the last spears of Beloved Green’s Balsamic Asparagus. Yum!
The Moral of the Story
Make sure you have all the ingredients you need before you begin making a recipe. If you are making bread, make sure you have more flour than you think you will need.

About the Recipe
This is a recipe my mother-in-law’s Aunt Connie received from a friend named Joyce. The original recipe is simply titled “Yeast Rolls.” I added the “yummy” part because they are that good.
These rolls are different than other yeast breads I have made. With the other breads I usually make, the yeast is proofed in warm water before adding it to the dry ingredients. With this recipe, the yeast is mixed with the dry ingredients first. The water is warmed with milk and butter and then added to the dry ingredients.
The Cast of Characters

They wouldn’t be yeast rolls without the yeast. This recipe calls for 2 packages of rapid rise yeast.
The Play-by-Play
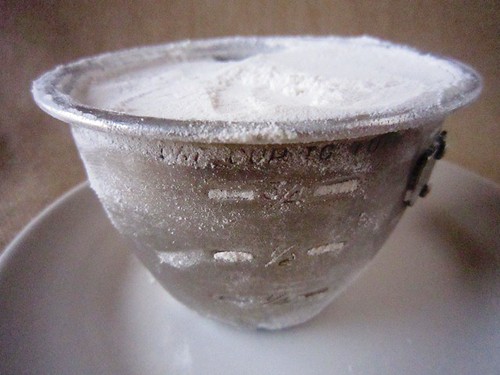
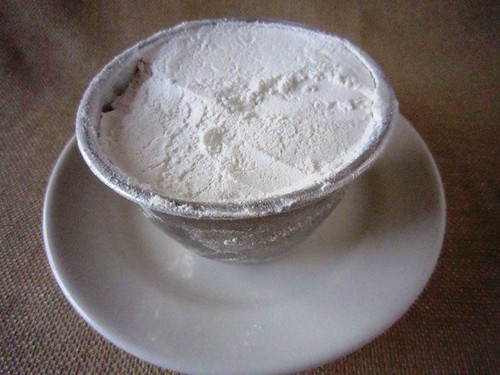
Start by setting aside a cup or two of flour.
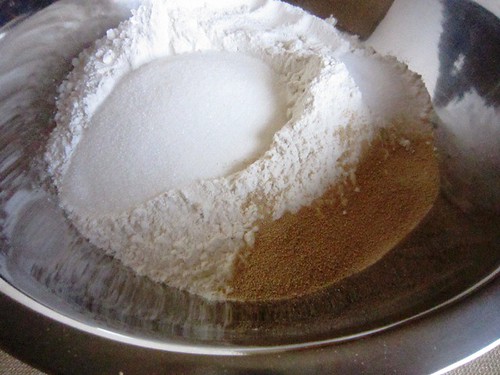
In a large bowl, mix together the dry ingredients, including the yeast.
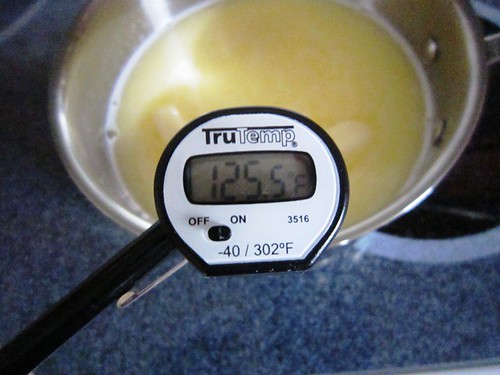
In a saucepan, heat the milk, butter and water to 125 to 130 degrees.
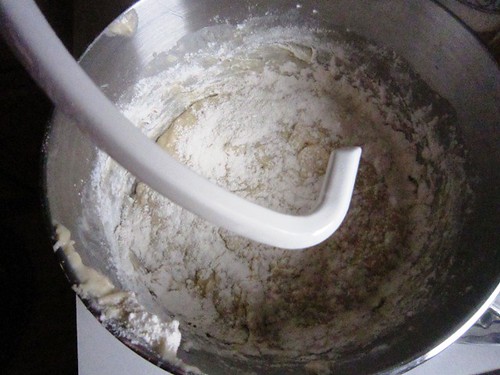
In a mixer bowl, add the dry ingredients and warm liquds.
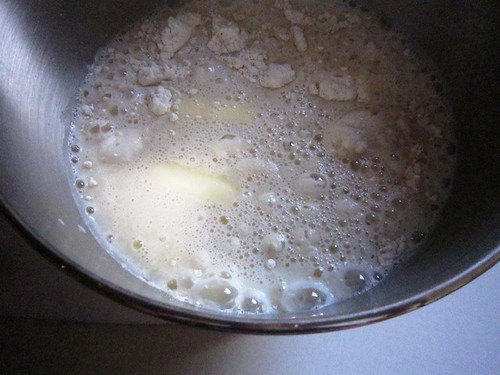
Mix until combined.

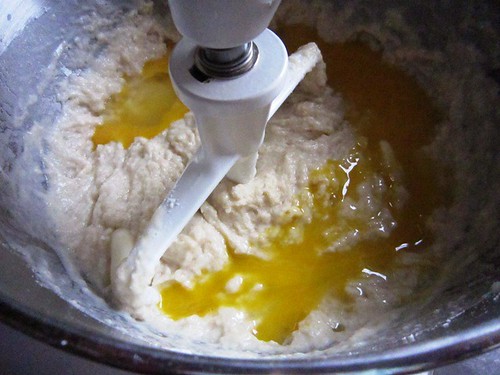
Add the eggs and mix again.
Mix in the remaining flour.
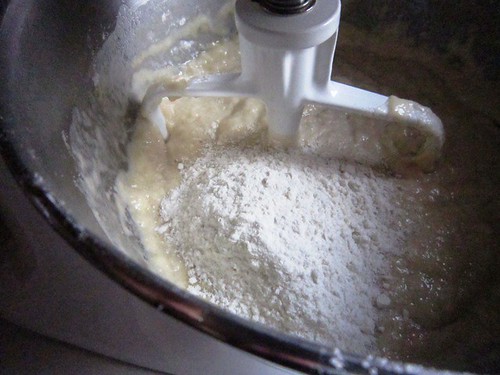
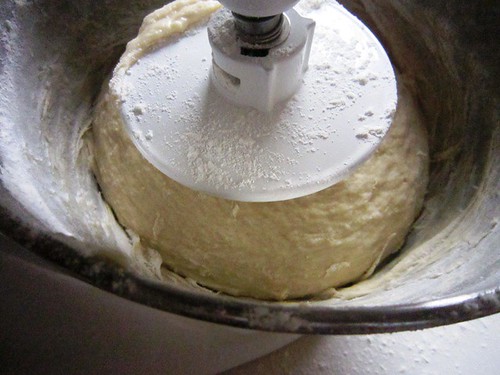
Using a dough hook, knead the mixture for about 10 minutes.
Keep kneading and adding flour until the dough forms a ball.
Cover the dough, and let it rest for 10 minutes.
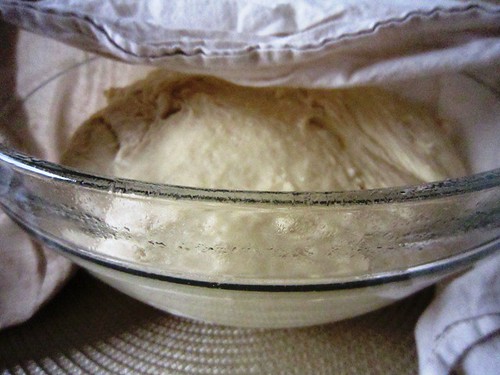
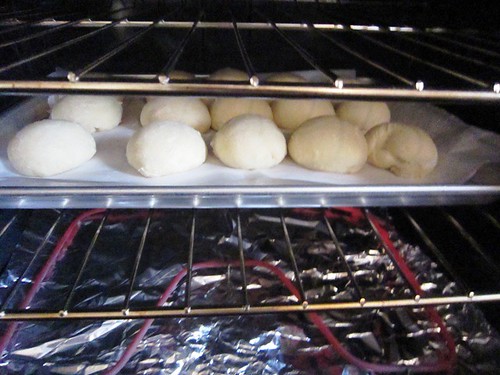
Then shape the dough into dinner rolls.
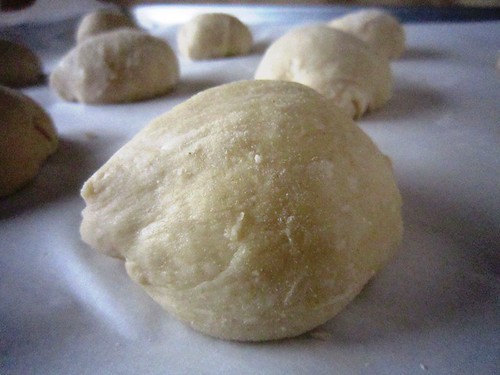
Cover again and let rise for about 1 hour before baking in the oven.
Serve immediately.

Recipe: Yummy Yeast Rolls
Summary: A down-home recipe for soft, pillow-like rolls
Ingredients
7 cups flour, divided
4 teaspoons salt
2 packages rapid rise yeast
¾ cup sugar
2 cups milk
2/3 cups unsalted butter
1 cup water
2 eggs
Instructions
- Set aside 1 cup flour.
- In a large bowl, mix the remaining flour and other dry ingredients, including the yeast.
- In a saucepan, heat the milk, butter and water to 125 to 130 degrees.
- Stir the hot liquids into the dry mixture.
- Add the eggs and mix in the reserved flour.
- Using a stand mixer with a dough hook, knead the dough, adding more flour until the dough is no longer sticky, about 10 minutes.
- Cover the dough, and let it rise in a warm area for 10 minutes.
- Shape the dough into rolls. Cover the rolls, and let them rise until double in size, about an hour.
- Bake the rolls at 375 degrees until golden brown, about 15-20 minutes.
The Footnotes
- About the Quantity of Flour: How much flour you will need depends on the humidity. When I first made this I thought the recipe was wrong when it said to use 7 cups, and I ended up using more like 9 or 10. Turns out it had just been a very damp and humid week here in Iowa. My advice is to make sure you have more flour on hand than you think you will need.
- About the Type of Flour: To play it safe, I’d use all-purpose flour. I didn’t see any adverse effects from having some self-rising flour in the mix, but I’m not sure how it would turn out if all of the flour had been self rising.
Additional Resources
Here are a few other yeast bread recipes I’ve tried, but this Yummy Yeast Rolls recipe may be my new favorite.
- Knittle Bread – This bread has a firm crust and texture. The dough is versatile enough to be shaped into loaves or rolls.
- Potato Bread – This bread reminds me a lot of the Knittle Bread. The flavor of the potato is very subtle.
- Focaccia Bread – This is an airy bread with a more delicate crust. I also added garlic and rosemary for extra flavor.
Baking time (duration): 20 minutes
Number of servings (yield): 4 dozen rolls
Meal type: dinner
My rating:
I love your yeast rolls they look so perfect 🙂 and so yummy! I love making rolls 😉
Thanks! I definitely recommend making them.
Gorgeous! I made biscuits for my “home baker’s hallmark card” this year but I am so looking forward to trying these!
Biscuits sound good too. Hope you like the yeast rolls as well.
All is well in the end! I love that you made up a batch of my Balsamic Asparagus, we made some for our dinner to, and my mom and I had a fork fight over the last little bit.
Your asparagus was awesome! I will definitely be making it again. It is so funny you and your mom battled over the last spear. My father-in-law and I were happy to get the last ones at our house. 🙂