Nothing says happy birthday better than a cake baked from scratch. For my dad’s birthday a couple of weeks ago, I decided to make him this two-layer chocolate cake with a cinnamon pudding filling.
About the Recipe
I first had this cake at a Living History Farms 1900s farm dinner. If you live in Central Iowa, you must try one of these dinners, served family-style in a 1900s farm house. I went to one over the holidays with Ken and his parents, and this cake was served for dessert.
The cake was dense and moist. The frosting was rich and fudge-like. It was perfection. At the end of the meal, we received copies of the the recipe (which is also available on their Living History Farms blog). I knew I would have to try making it sometime. My dad’s birthday a couple of months later seemed the perfect occasion.
Tips & Tricks
However, I forgot one crucial bit of advice our hostess shared with the recipe. The recipe called for a chocolate cinnamon pudding filling. She had explained how the pudding filling would melt if you didn’t work quickly when assembling the cake. I had forgotten her advice until I started frosting the cake and the pudding filling quickly started oozing out the sides of the cake.
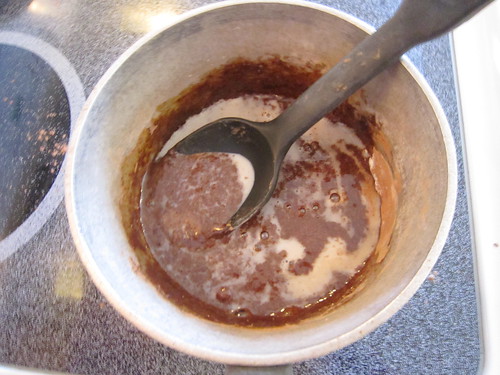
In a matter of seconds, it went from this…

I attempted to save it by packing walnuts around the edges to hold in the filling. Then I stuck it in the freezer for 30 minutes hoping it would set up.
It did, somewhat. The end result looked like this…
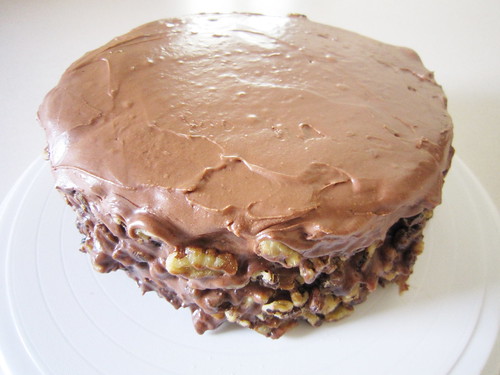
Even though it was a bit of a chocolate mess, it was so good it didn’t last long.

Next time, I would put in in the freezer for 30 minutes after adding the filling and BEFORE frosting.
How to Make It
If you are brave enough to give this a try, here are the details on how to make it.
Start by baking the cakes.
Sift together the flour, baking soda and salt.

Put in a saucepan the butter, cocoa powder and water. Bring the mixture to a boil.
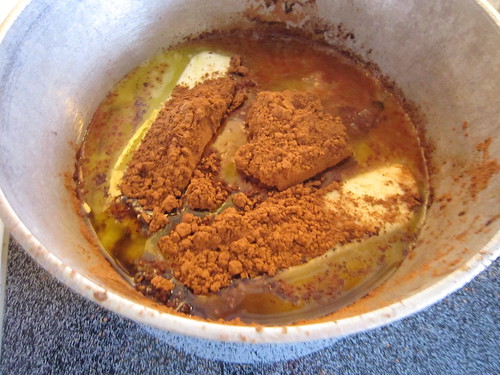
Mix the hot chocolate mixture into the flour mixture.
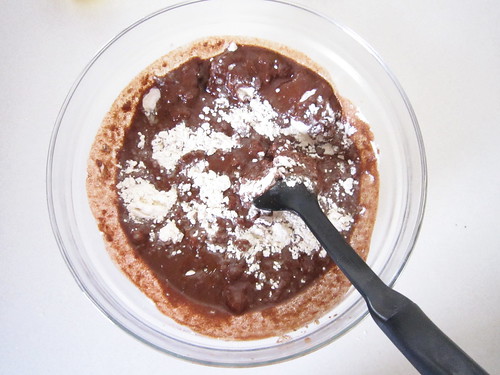
Mix in the eggs, one at a time.
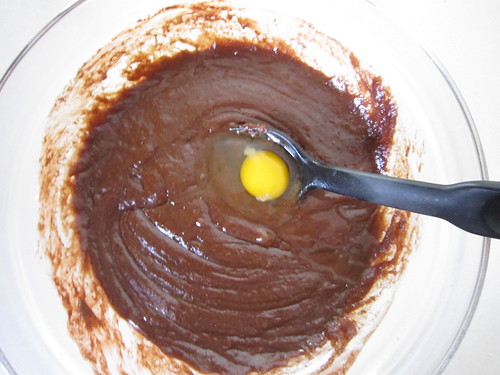
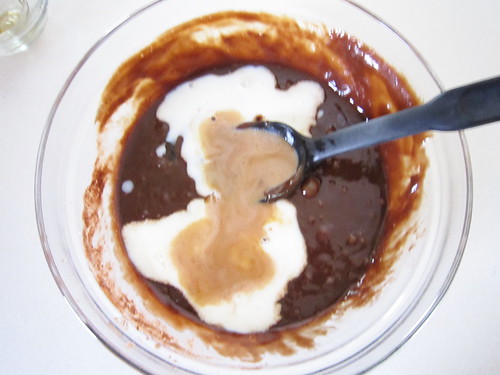
Stir in the milk and vanilla. (Sorry for the blurry picture. It’s tricky to pour milk and snap a picture at the same time. 
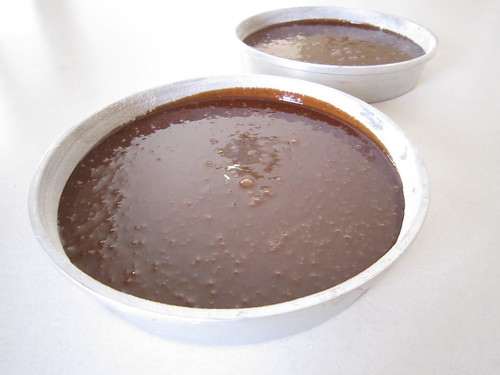
Divide the batter evenly into two round cake pans.
Bake at 350 degrees for about 25 minutes, or until a toothpick inserted in the center comes out clean. Let rest in the pans for about 10 minutes.
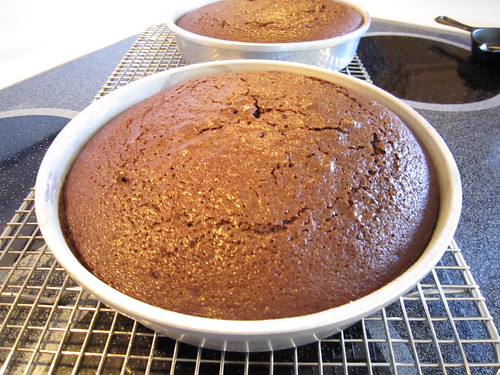
Turn the cakes out onto a wire rack, and let cool completely.
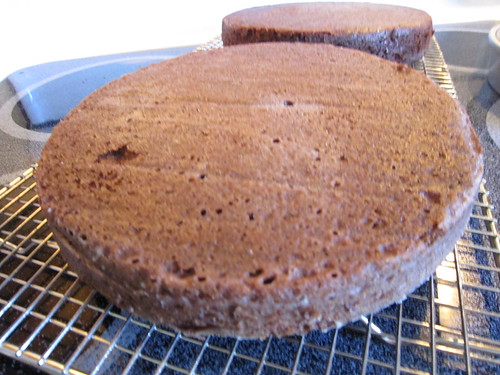
Tip: Let the cakes cool upside down to flatten the rounded tops a bit. This will make them easier to stack and frost later.
Next, make the filling.
In another saucepan, mix together sugar, an egg, additional egg yolks, cinnamon, cocoa powder and cornstarch.
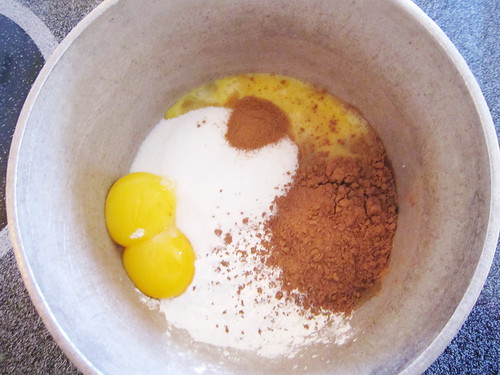
Cook and whisk continually over medium heat until thick like pudding.
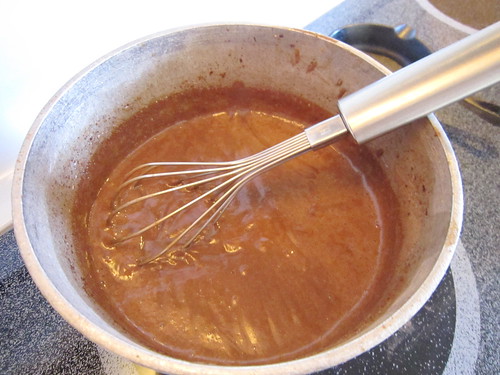
Let the pudding cool while you make the frosting.
To make the frosting, start by mixing together butter, cocoa powder and milk in a saucepan. Cook and stir over medium heat until the butter is melted. Then pour the chocolate mixture into a kitchen mixer with powdered sugar, and blend until it is thick and creamy. If it is too thick to spread, add a little milk.
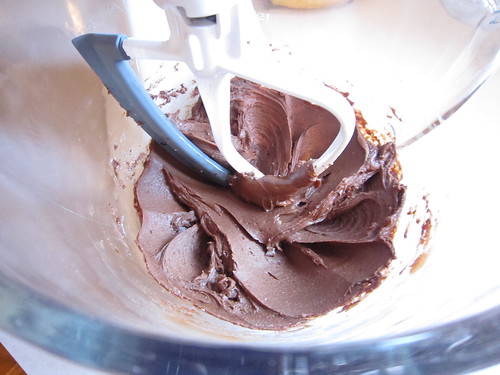
Finally, assemble the cake.
This is where it gets tricky. First, put a dab of frosting on your cake stand to hold the cake in place. Then put your first cake layer right side up on the stand.
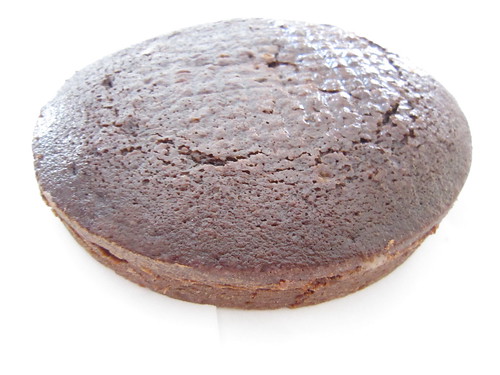
Slather the pudding filling over the first layer.
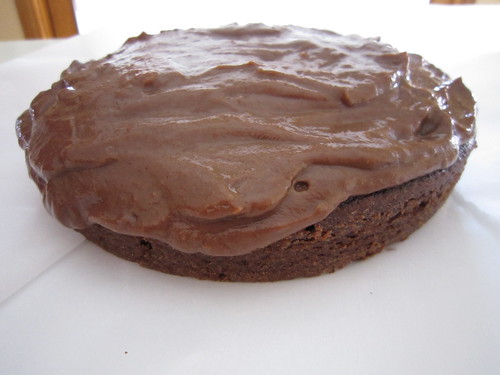
Add the top layer, and smooth out the filling oozing out the sides.

Tip: At this point, I would put it in the freezer for 30 minutes to set up, and not frost it immediately like I tried to do.
When you are ready to frost it, start by frosting the top first.

Then, if you can, frost the sides. Or if the filling gives you trouble, just smash a bunch of walnuts into the sides of the cake.

Enjoy!
Additional Resources
For more tips on how to properly frost a two-layer cake, I found this post on the website for Real Simple really helpful.
For more information on making chocolate pudding from scratch, check out this post from The Frugal Girl.


